
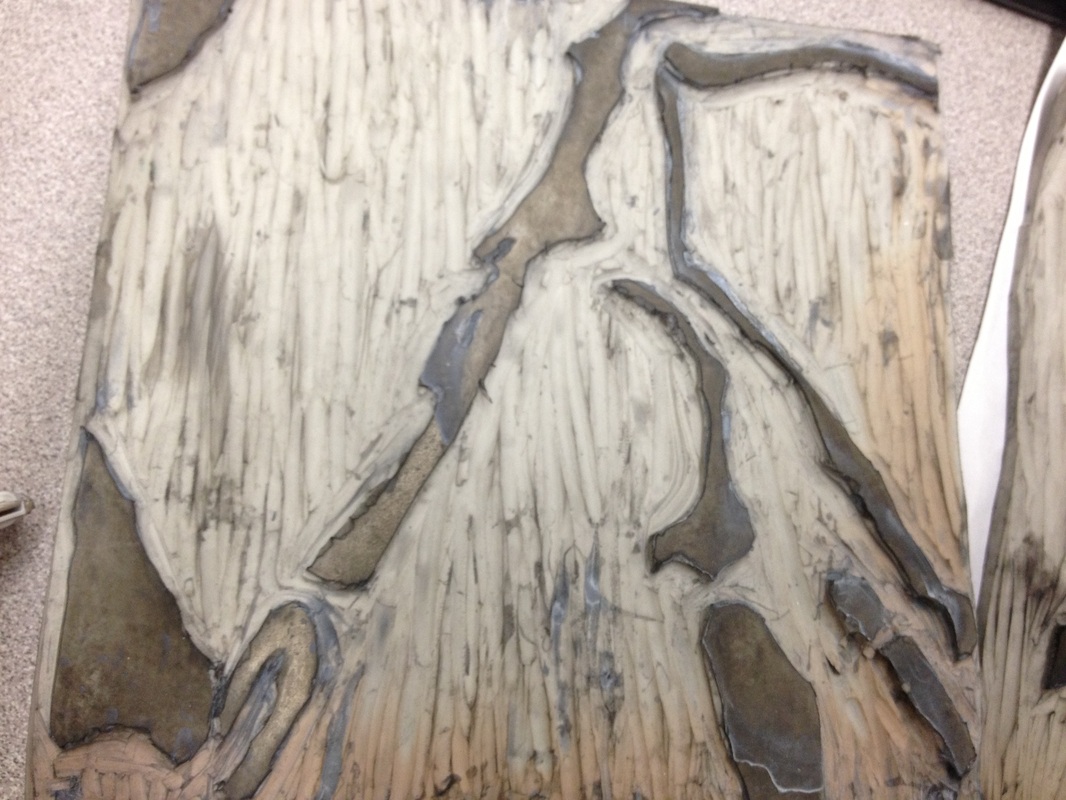
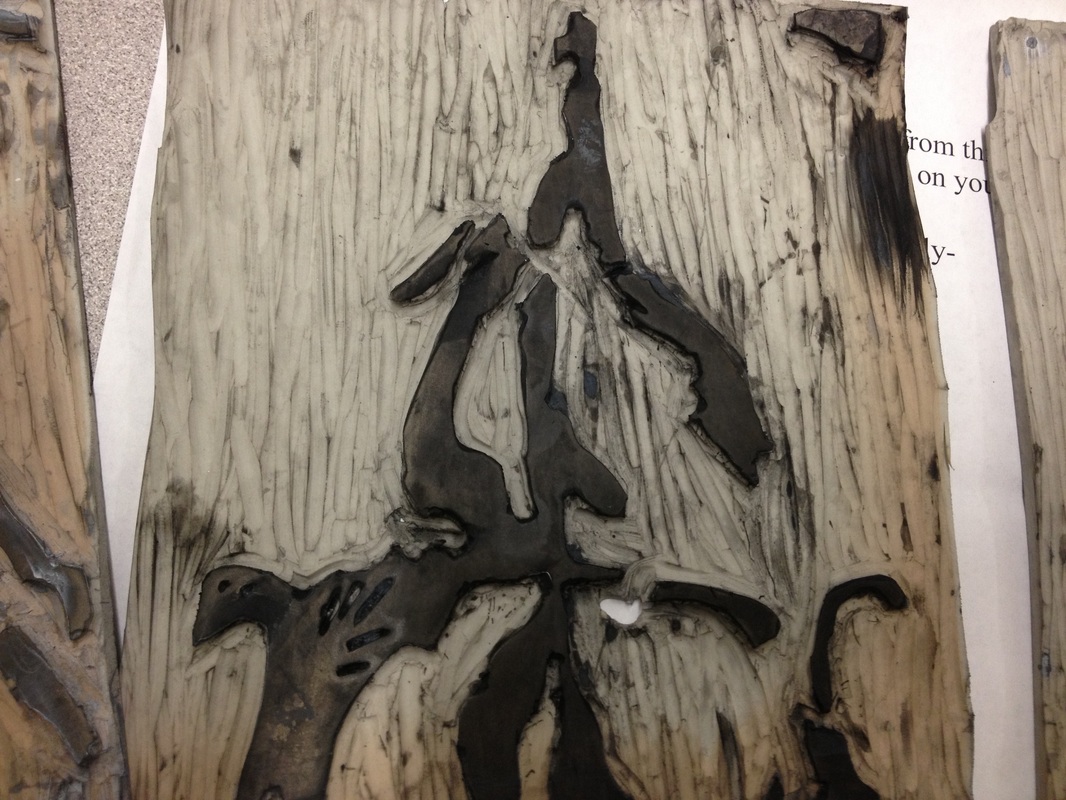
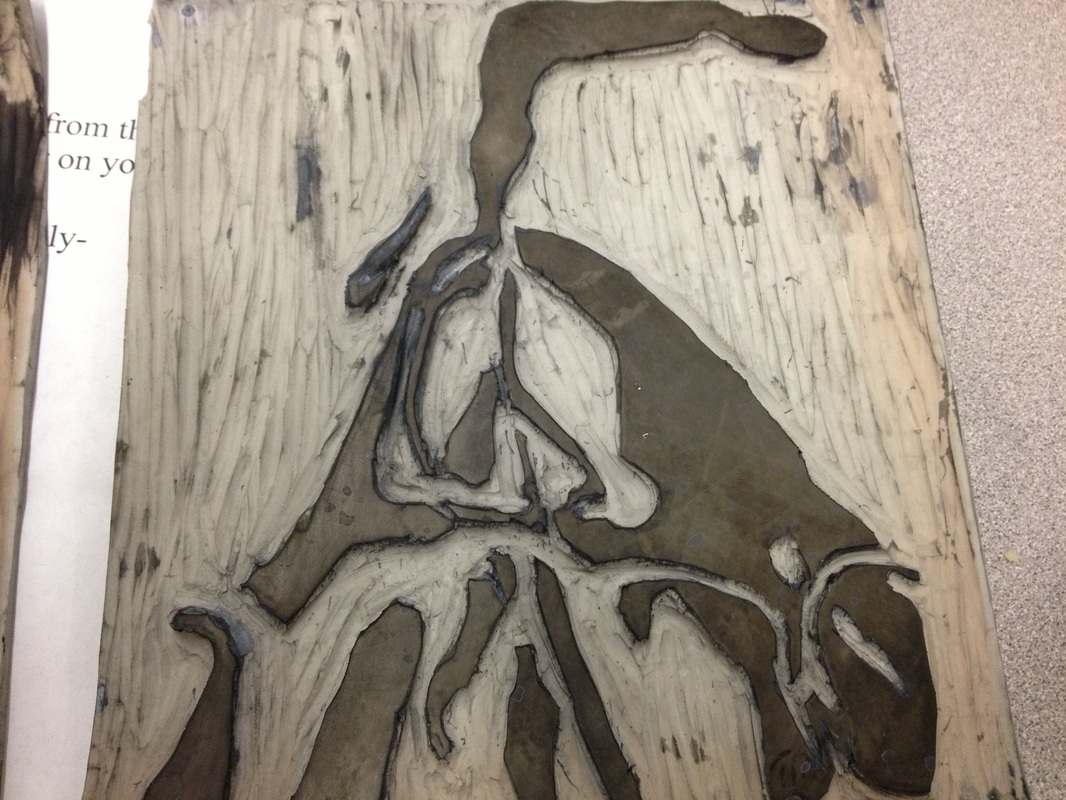
The first printing lab we worked on as a class was making relief prints. Relief prints are first made using Adobe Illustrator. I edited my photo and striped all color then after words you edit it again into three color groups; grey, black, and a lighter grey or black. After this they are to be placed on rubber carving blocks and carved out so they can later be used as "stamps." After they are all carved they get ink rolled on them and you place them down like stamps. Eventually you stack them all up on top of each other to make one stamp and you get an overall design. The process can take awhile but in the end the results can be very cool! Below are my three carvings with some dry ink on them.
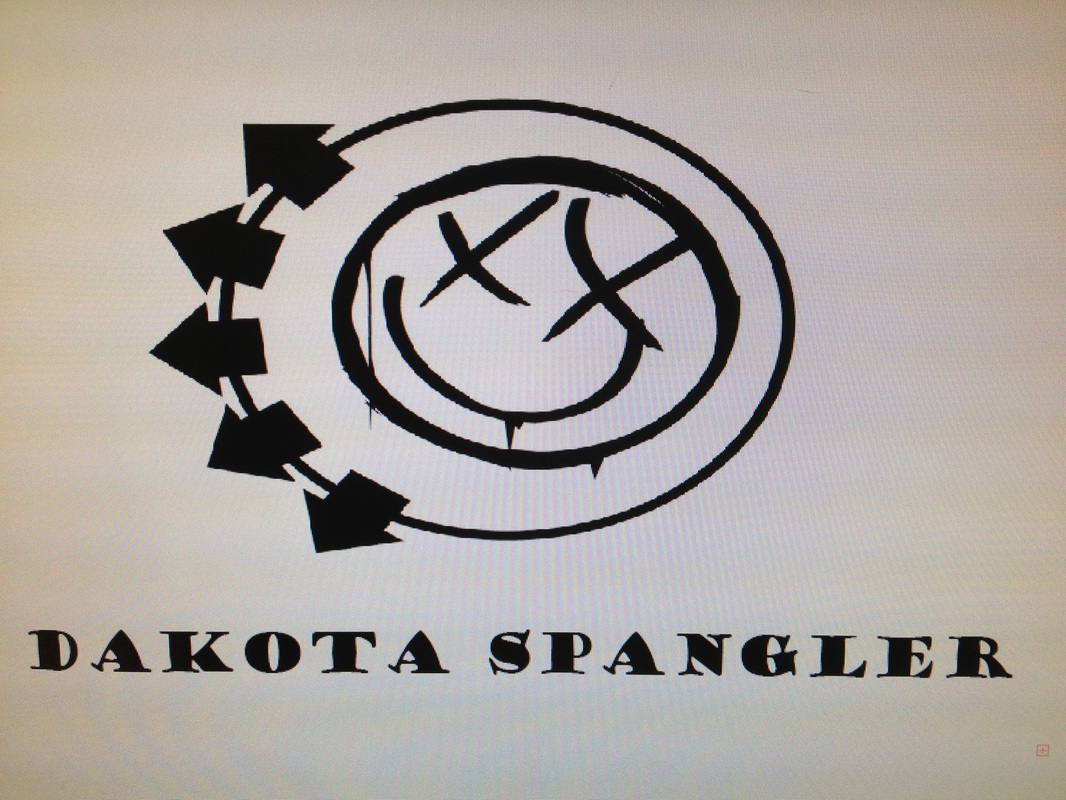
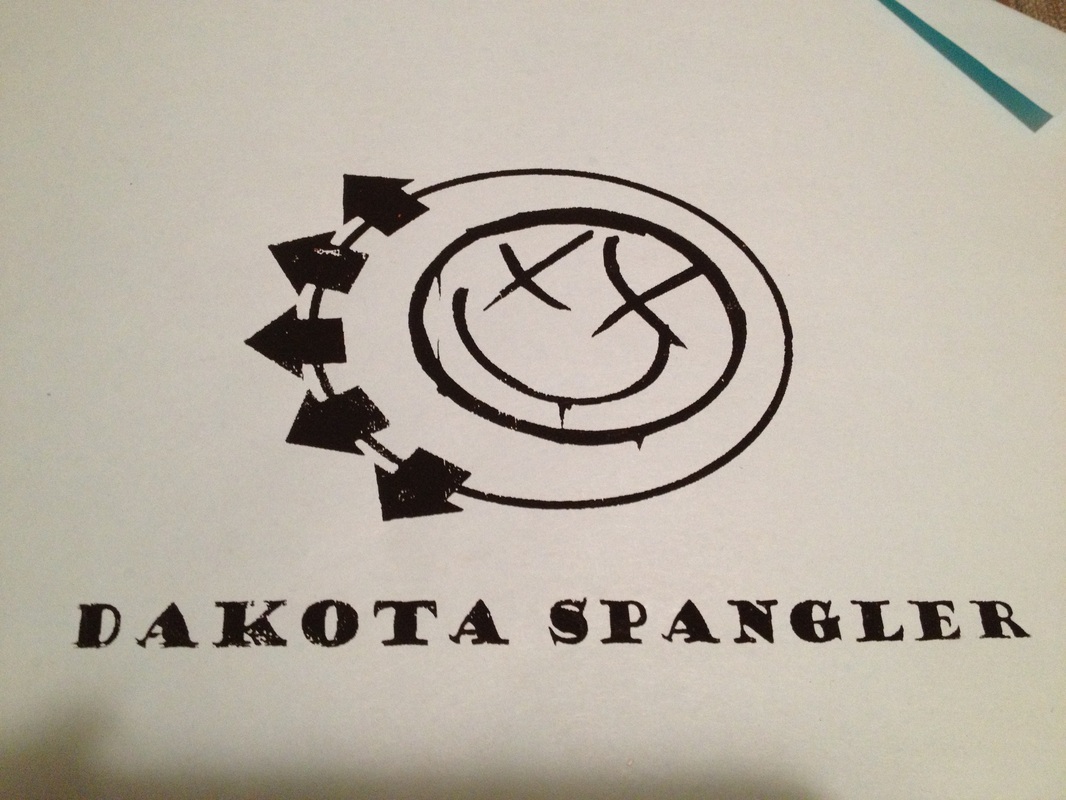
Another project I worked on for awhile was the silkscreen logo. Screen printing involved a lot of work and time. For starters you need to pick a design and make it in Illustrator. At first my design didn't have enough space. I tried a couple different times and just could not get my design to work. A scoop coat would soon be my savior. After you make your design you have to produce a screen board. This is easy it just requires screen and a frame. You string the screen into the frame and hammer it down. Next I used a machine that transfers the logo onto transparency paper. Then you use poly-blue paper and transfer the image again. Once you add water the design sort of "melts" away so you can use it to screen print. After this you can tape your logo onto the screen previously made! This is where problems arisen for me. My image did not have enough empty space and kept peeling horribly. Eventually Ms. Hornock came to me with scoop coating. You use a big machine that puts the blue coating on easier and in the end works ten times better. I was able to then finally transfer my image onto whatever I wanted using the ink and the screen. Above are my starting point with my logo I created on Illustrator and my image after I transferred it with ink onto paper.

One of the last printing projects the class made was a note book! Mine is pictured to the right and has a picture of grumpy cat on. The project was fairly simple. Using Photoshop you get an image and fade it. I then added text and some cute cat images I downloaded offline. We had to save the image as a JPEG to print it. Mr. Lewis helped us cut them and use the printing press to made a bunch of copies. After this I was able to add the sticky red glue to the back to finalize the notepad and glue all the pieces of paper together. Over all the project was fairly easy and fun!
