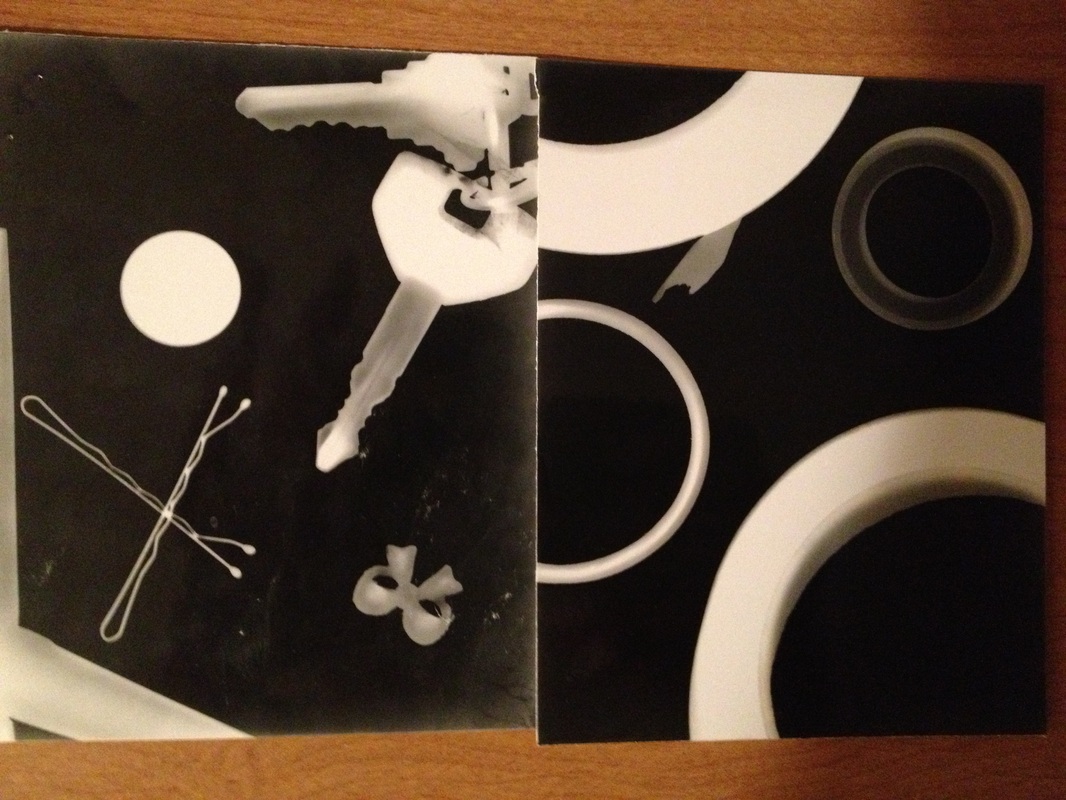
Analogue photography was defiantly my favorite unit during graphics. All of the projects we were able to create were so much fun and the results were cool! The first project we made were photo grams. We placed objects on photo paper to block out light and put them on a light box for a certain number of seconds. Next we developed the photos with developer, stop bathe, fixer, and water. During the process the image started to show through and I ended up with pictures like the one to the left. I made many of these photos because I enjoyed the project a lot. Also below in the middle are some examples.


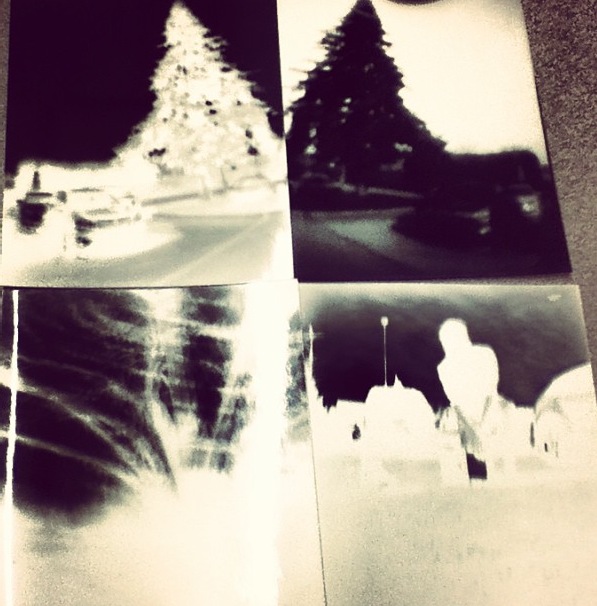
The next project we worked on was our pinhole photography project. Over all this was my most absolute favorite project. The project involved turning a shoe box into a camera! At first I did not believe it was possible but I made many of the photos. You convert a shoe box into a camera by cutting slits and adding a "shutter" to the front to block out light. You paint the box black to even further the blocking out of light and you add foil as well. Once the box is finished you load it up with photo paper and tape the box shut to allow absolutely no light the ability to seep through. Next you go outside and hold the shutter open for a number of seconds depending on your F stop. Once the seconds are over and you have captured the image you come back in and develop it. I also experimented with some inside photos. You must hold the shutter open for over a minute to actually get a photo because there is so little light inside compared to outside. After you develop the picture you will have a cool negative! Below is my photo shoe box and above to the right are some of my photos that I framed. I enjoyed this project and if I had a black room I would do it again and again and again!

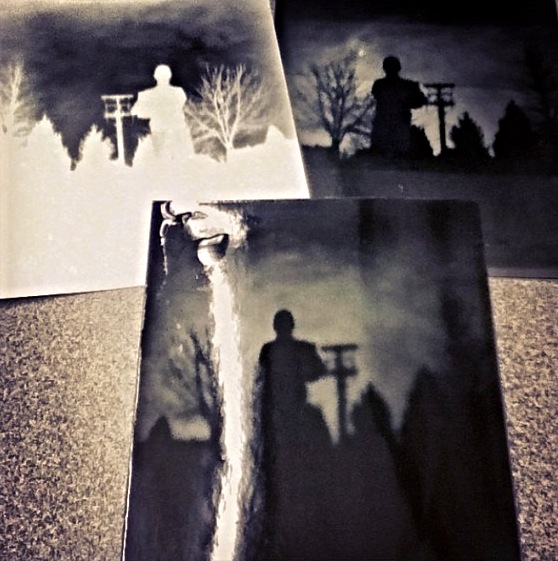
One of the last units we worked on in the Analogue photography unit was positive-negative pinhole photography. This process involved using our shoe box cameras and taking pictures with them. We then developed the negative image using the four steps; developer, stop bathe, fixer, and water. After this process we placed the photo on the enlarger machine along with a new blank piece of photo paper and slide paper down every few seconds to find the perfect touch to the photo. Once done I picked the part of the photo that was the clearest and redid the process on that number of seconds without sliding down a paper. Afterwards you must develop the photo paper again and the end result is a positive and negative of the same photo. Below the top photo is a picture of my positive and negative.